
how to guide
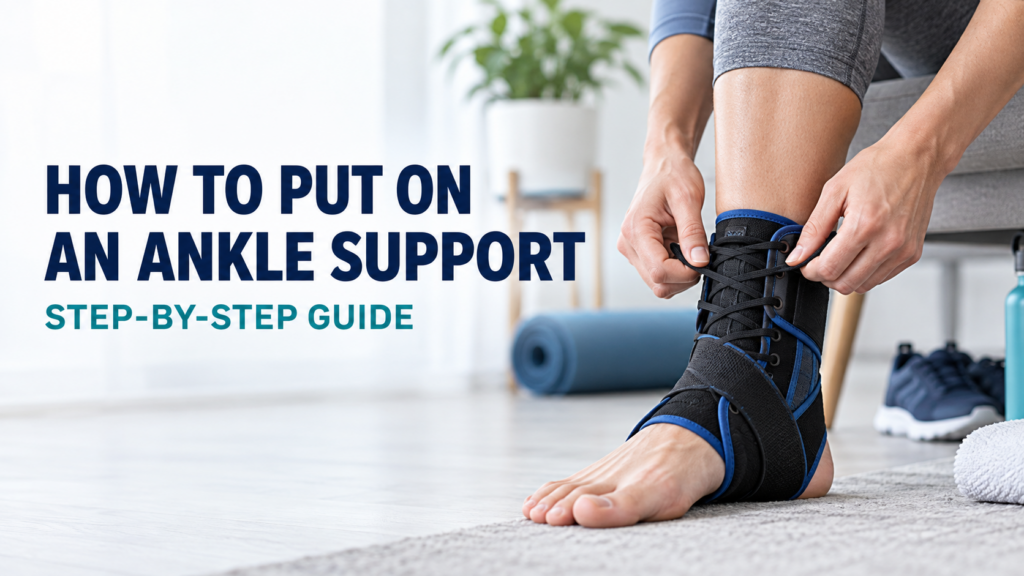
How to Put on an Ankle Support: A Step-by-Step Guide
Ankle injuries can be a significant setback, whether you’re an athlete or simply navigating daily activities. Ankle supports play a vital role in stabilizing the joint, reducing pain, and promoting healing. However, understanding how to properly put on an ankle support can make a world of difference in its effectiveness. Here’s a detailed guide on how to put on an ankle support correctly, ensuring you get the most out of it.
Why Use Ankle Support?
Before diving into the application process, it’s essential to understand the benefits of using an ankle support:
Stabilization: Offers stability to the ankle joint, helping prevent further injury.
Pain Relief: Reduces discomfort from sprains, strains, and chronic conditions.
Compression: Provides gentle compression, which can help control swelling.
Confidence: Boosts your confidence when engaging in physical activities, knowing your ankle is supported.
Types of Ankle Supports
1. Elastic Supports: Typically made of stretchy material, these provide mild support.
2. Lace-Up Braces: Adjustable braces that offer customizable support.
3. Stirrup Braces: Rigid options that provide maximum stability.
4. Rigid Braces: Designed for severe injuries, these limit movement significantly.
Step-by-Step Instructions for Putting on Ankle Support
Here’s how to properly put on each type of ankle support:
1. Elastic Supports
Materials Needed: Elastic ankle support.
Steps:
1. Positioning: Sit down with your foot flat on the ground or on a raised surface.
2. Roll It On: Begin by rolling the support onto your foot, starting at the toes and moving up to just above the ankle bone. Ensure the heel is snugly fitted.
3. Adjust the Fit: Once the support is on, adjust it to ensure it fits comfortably but snugly around your ankle. It should provide compression without cutting off circulation.
2. Lace-Up Braces
Materials Needed: Lace-up ankle brace.
Steps:
1. Preparation: Sit down with your foot resting comfortably.
2. Open the Brace: Lay the brace flat and unlace it completely.
3. Insert Your Foot: Place your foot into the brace, ensuring your heel is at the back and your toes are at the front.
4. Lace It Up: Begin lacing from the bottom, pulling the laces tight enough to provide support but not so tight that it restricts blood flow. Cross the laces in a crisscross pattern up to the top, and tie a secure knot.
5. Check the Fit: Ensure the brace is snug around your ankle but allows for a comfortable range of motion.
3. Stirrup Braces
Materials Needed: Stirrup ankle brace.
Steps:
1. Preparation: Sit with your foot elevated.
2. Open the Brace: Unfasten any straps or Velcro.
3. Position Your Foot: Slide your foot into the brace, ensuring the stirrups align with your ankle bone.
4. Secure the Brace: Fasten the straps or Velcro, starting from the top and working your way down. Ensure it is snug but not overly tight.
5. Verify Alignment: Make sure the brace is aligned properly around your ankle for maximum support.
4. Rigid Braces
Materials Needed: Rigid ankle brace.
Steps:
1. Preparation: Sit comfortably with your foot elevated.
2. Open the Brace: Unbuckle or unfasten any straps.
3. Slide Your Foot In: Carefully position your foot into the brace, ensuring your heel is at the back.
4. Secure the Brace: Fasten the straps, starting at the top and moving downwards. Ensure the brace is firm but not constricting.
5. Check for Comfort: Move your ankle gently to ensure the brace provides support without causing discomfort.
Choosing the right ankle support can provide added stability, comfort and confidence while recovering from an injury or returning to everyday activities.
Final Tips
1. Practice Regularly: The more you practice putting on your ankle support, the easier it will becomes.
2. Check for Proper Fit: After putting on the support, check for any signs of discomfort or restricted circulation. Adjust as necessary.
3. Wear Appropriate Footwear: When wearing an ankle support, choose shoes that provide additional stability and comfort.
Conclusion
Putting on an ankle support correctly is crucial for ensuring its effectiveness and promoting healing. By following these steps, you can enjoy the benefits of enhanced stability, pain relief, and confidence in your movements. Always consult with a healthcare professional for personalized advice and recommendations tailored to your specific condition. With the right support and technique, you can get back to your favourite activities with peace of mind.